OTT Headquater Renovation Scan to BIM Project
A high accuracy Scan to BIM workflow performed by OmniSLAM R8+
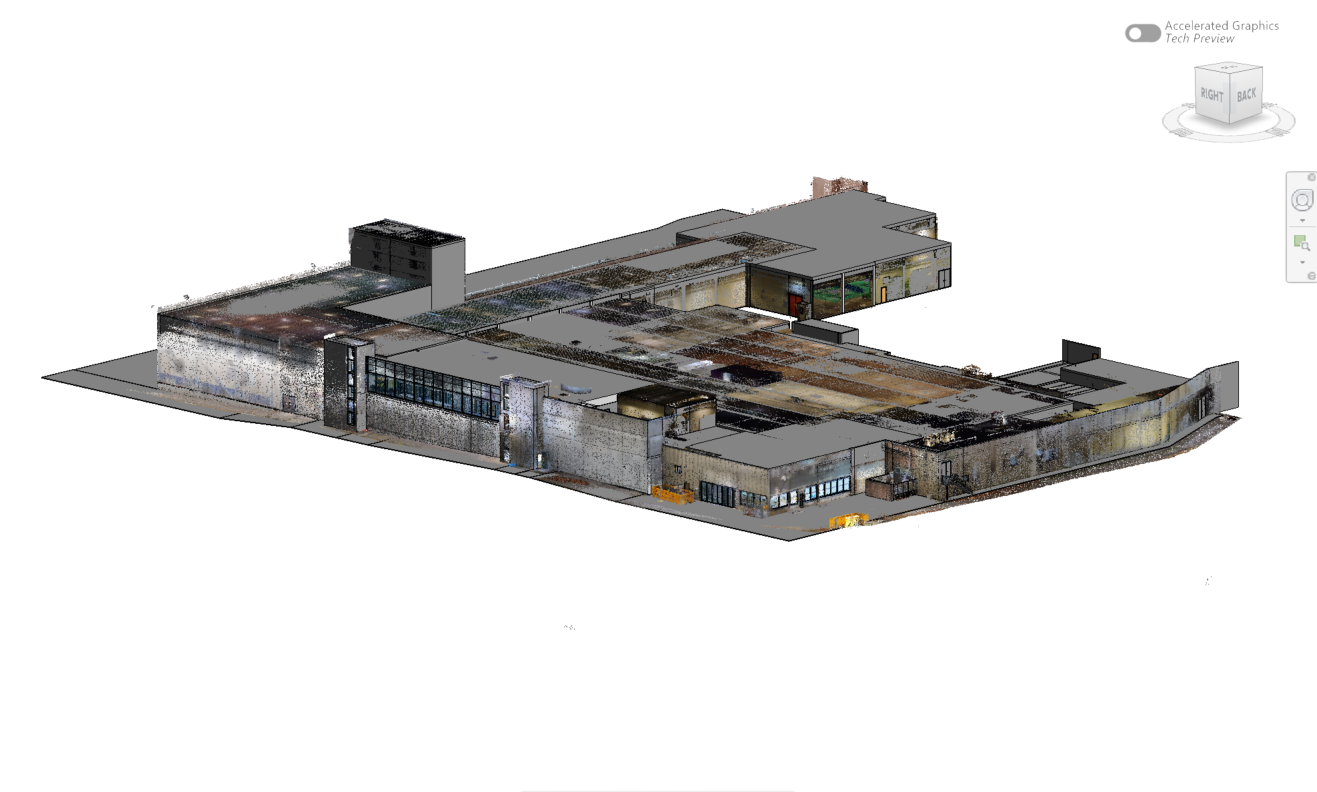
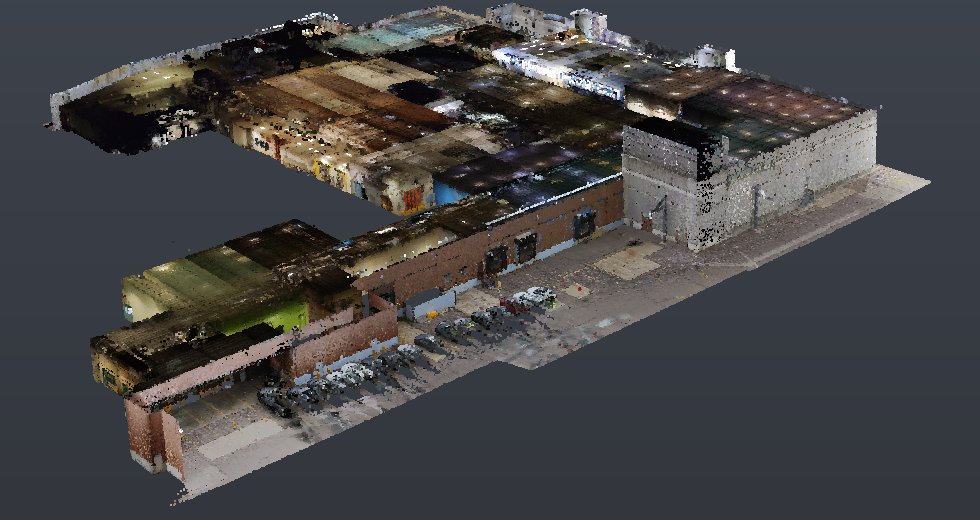
OTT Financial Group was planning a renovation of its Toronto headquarters, a large commercial building made of several connected wings. Before design could start, the team needed an accurate model of the building as it stands today.
We captured the whole complex, inside and out, with a handheld SLAM scanner, registered it into one georeferenced point cloud, and modelled the existing conditions in Revit directly on top of it.
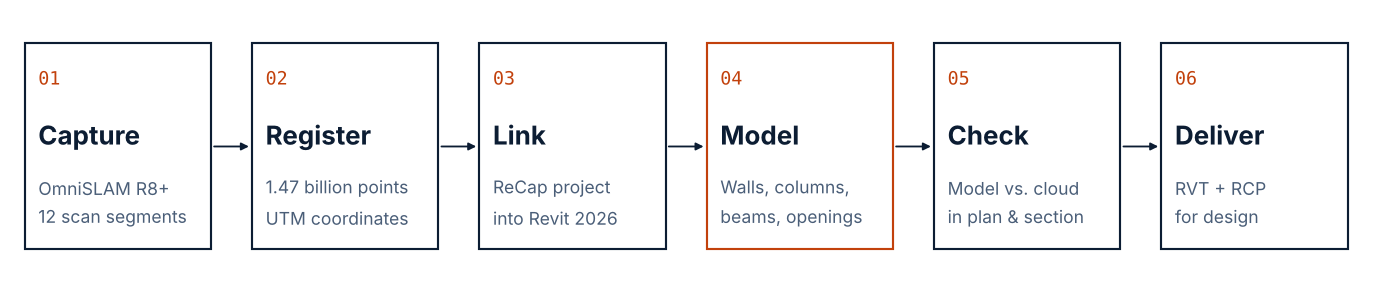
01 · Capture: walk the building with a mobile scanner
OmniSLAM capturer enables capturing the GCPs while scanning. All of the preset targets were shot by the total station. A building this size would take days of tripod setups with a static scanner. With the OmniSLAM R8+ the operator walks through every space with the scanner running: every room and corridor, the stair cores, and the exterior around the whole footprint.
02 · Register
The OmniSLAM Mapper maps the result in one project of 1.47 billion coloured points covering about 250 by 190 metres of site and 21 metres of height, in UTM grid coordinates.
03 · Link: bring the cloud into Revit and set the levels
The ReCap project is linked into Revit 2026 at its shared coordinates. Levels are read from the floor slabs in the cloud rather than assumed, and the modeller works in plan and section views cut through the points, the same way a surveyor reads a section.
04 · Model: model what is there, at the size it is
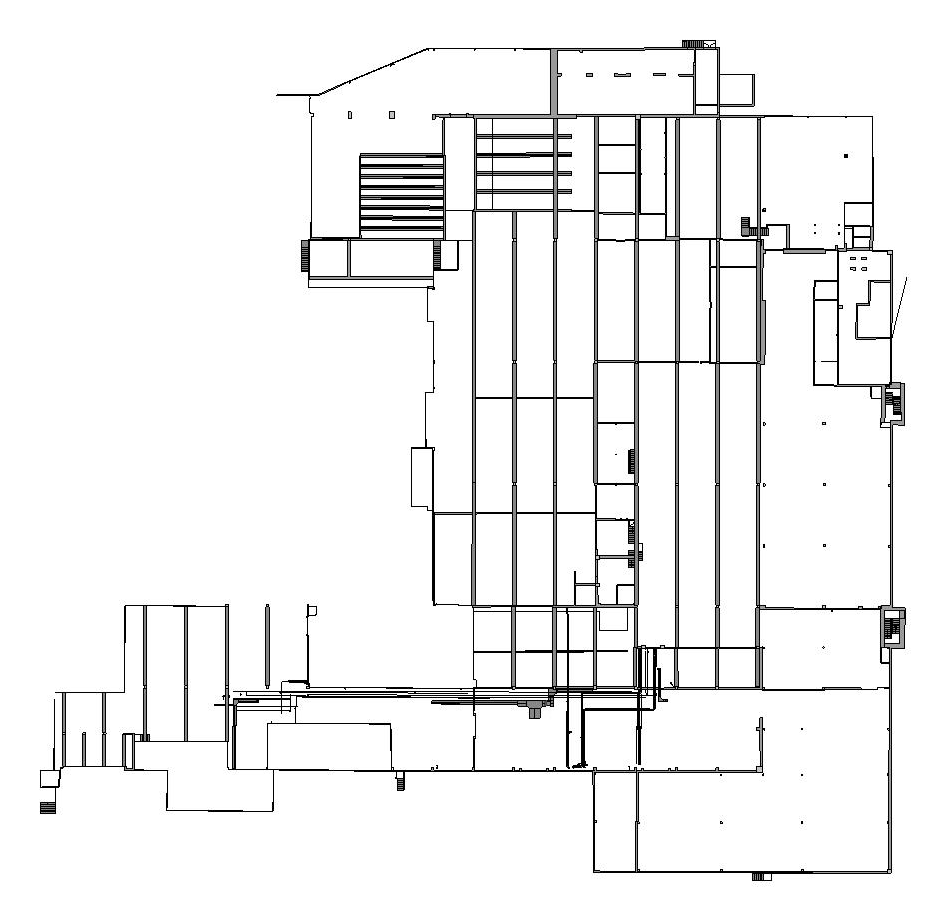
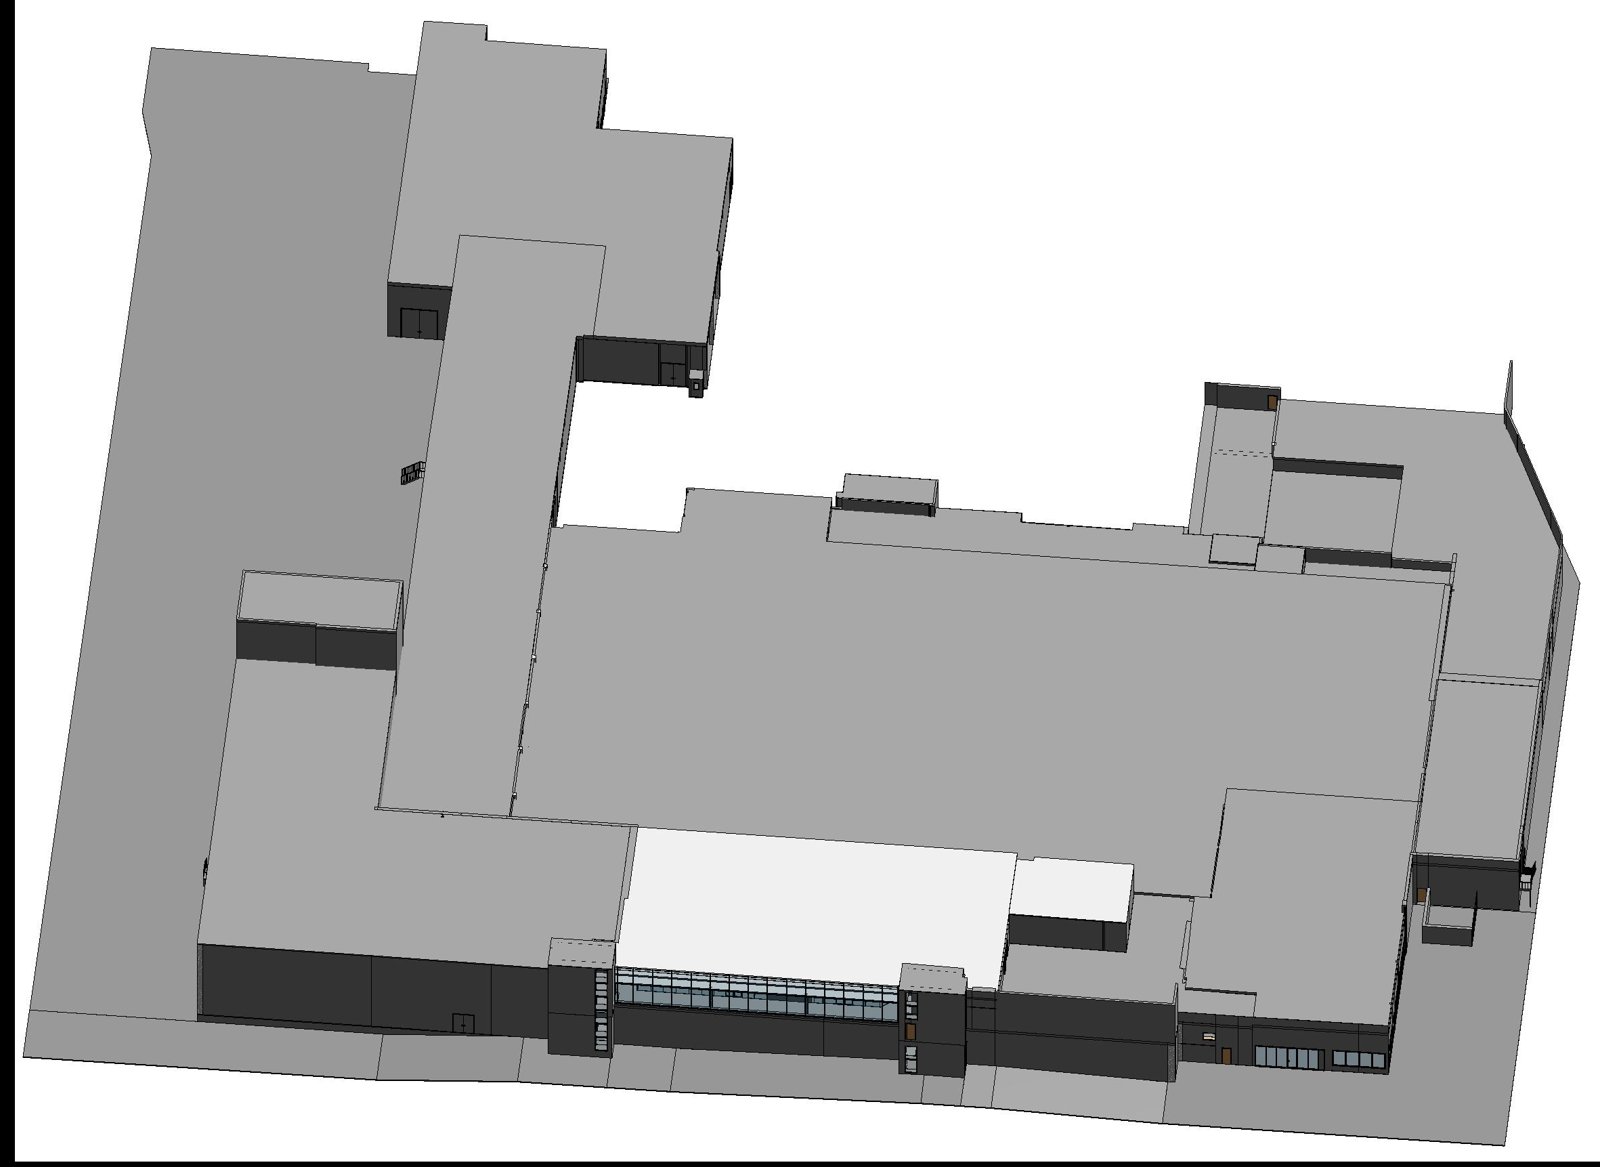
Every element is traced from the cloud: exterior and interior walls, floor slabs, columns, beams and steel framing, doors, windows, curtain wall glazing, stairs and exposed piping.
Nothing comes from a generic library size. Each element type is named EXISTING and sized from the scan, so the model reads as a record of the building as found. In this model that meant:
- 39 column sizes
- 26 door types and 5 door openings
- 16 window sizes
- wall and slab thicknesses as measured on site
Tagging everything as existing also sets up the next step for the design team: they can demolish, keep or relocate elements against a clean baseline.
05 · Check: model against cloud
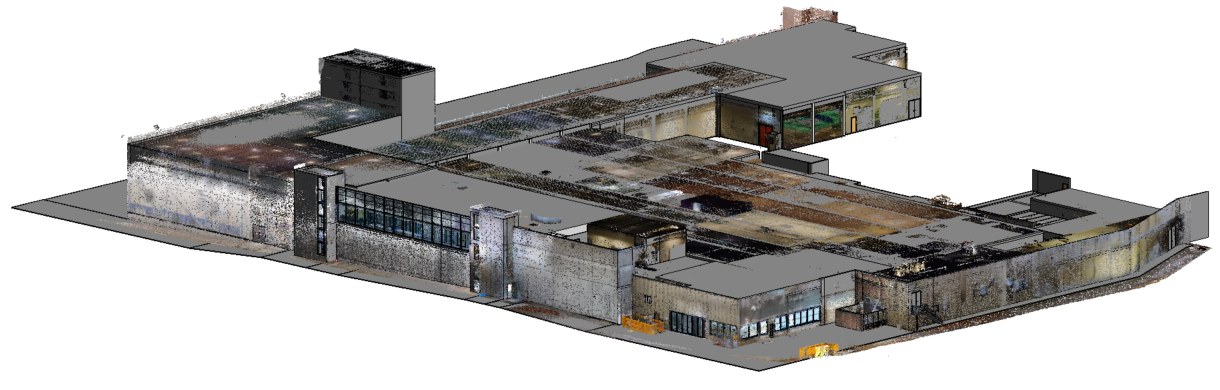
Before delivery we turn the point cloud back on inside Revit, as in the image at the top of this page, and cut plans and sections through both. Any wall, opening or level that drifts off the scan shows up immediately. Anything the scanner could not see, such as the inside of a wall or a space that was locked, is flagged to the client rather than guessed.
06 · Deliver: a model the design team can start on
- RVT · Revit 2026 as-built model
- RCP / RCS · registered colour point cloud
- Coordinates · UTM grid, shared between model and cloud
The point cloud goes with the model. When a question comes up during design, such as a ceiling height, a beam depth or a door clearance, the team can measure it in the cloud instead of sending someone back to site.